

Home-Remodeling Guide: How to Paint a Room Like a Pro
There are many ways to improve your Home-Remodeling; but nothing will achieve the level of success that painting your home will. Painting has been shown to be the most effective way to increase the value of your property. When you repaint a room in your home it will immediately improve its look and feel, and add value.
To achieve the highest quality finish on your newly painted surfaces, a professional painter will prepare the entire area you want painted, and then follow many detailed procedures from beginning to end to ensure that all surfaces have been properly prepared, and that each surface has received a consistent application of paint, and that the painted surface will last for many years to come.
Preparation of the work site, the final paint application, and the cleaning of painting tools are critical elements in executing a successful painting project.
Phase One: The Foundation of Professional Preparation
The first step to achieving a professional-looking finish when painting is to properly prepare the area. If you don’t prepare the area correctly before painting, the result may have uneven coverage, peeling or chipping of the paint, and/or visible blemishes in the finish.
Space Clearing and Hardware Removal

To get ready to paint, make sure to first put everything out of your way; clear the area to allow for 100% full access to the walls. After you’ve cleared the area by removing all of the furniture from the walls, it’s also a good idea to organize all of the furniture to one location, (in the center of the room) in case after painting you want to work in that area again.
After everything is out of the way from the walls, take down and remove all of the wall-mounted hardware such as light switch plates, outlet covers, curtain hardware and picture frames. This will not only help prevent any paint dripping onto the hardware when painted but will also allow the painter to paint around the hardware with precision after the painting has been completed.
Preparing this way is standard for all home renovation projects so that painters can work more efficiently to finish the job, and will also protect the rest of the space from being damaged while painting.
Surface Perfection

Before painting any surface, it’s important that the surface is completely free of dirt, grease, and/or fingerprints that might prevent paint from adhering properly to the surface of the wall.
A wall can be cleaned using a soft cloth or sponge and mild cleaner. Particular care should be taken to clean around switches, door frames, and other areas frequently exposed to high levels of oil where oil has built up over time.
Once the wall has been adequately cleaned and dried, examine the surface for any areas that are dented, have nail holes, or are cracked. Fill these areas with spackling compound using a putty knife, and allow these areas to dry thoroughly before continuing to the next stage.
The Smoothing Process

To get a perfect finish after you re-spray the repaired areas and they have dried completely, you need to thoroughly sand these areas to smooth the transition from the repaired area to the surrounding wall surface.
Another technique that many professional painters use to create a consistent substrate for applying new paint is to lightly sand all walls (not just the repaired areas) to remove imperfections such as small bumps and paint drips that were created by previous coats of paint.
Use fine-grit sandpaper to sand the walls prior to applying any paint and dampen a cloth after sanding to wipe away the sanding dust.
Surface Protection

It is important to protect all surrounding surfaces in order to provide a clean working environment for other workers in the area where the painting is being done.
Painter’s tape is a good way to provide clean lines around baseboards and edges of window frames, and ceilings, so you can create great lines and reduce the chance of accidentally spilling paint where it should not be.
It is a good idea to use heavy-duty drop cloths to completely cover your floors. While plastic sheets can also be used, cloth drop cloths tend to stay put better than plastic and are better at soaking up drips.
If there is large furniture left in the work area, you should also cover those pieces with some type of protective material. It is common practice in most well-managed residential remodeling projects to take precautions to protect the surfaces of everything around you.
Phase Two: Curating Professional Tools and Materials
Having the correct tools for each job will allow you to greatly improve not only the quality of your painting project, but also the speed with which you can complete the project. Professionals will select their brushes, rollers, etc., based on the type of surface they are going to use them on.
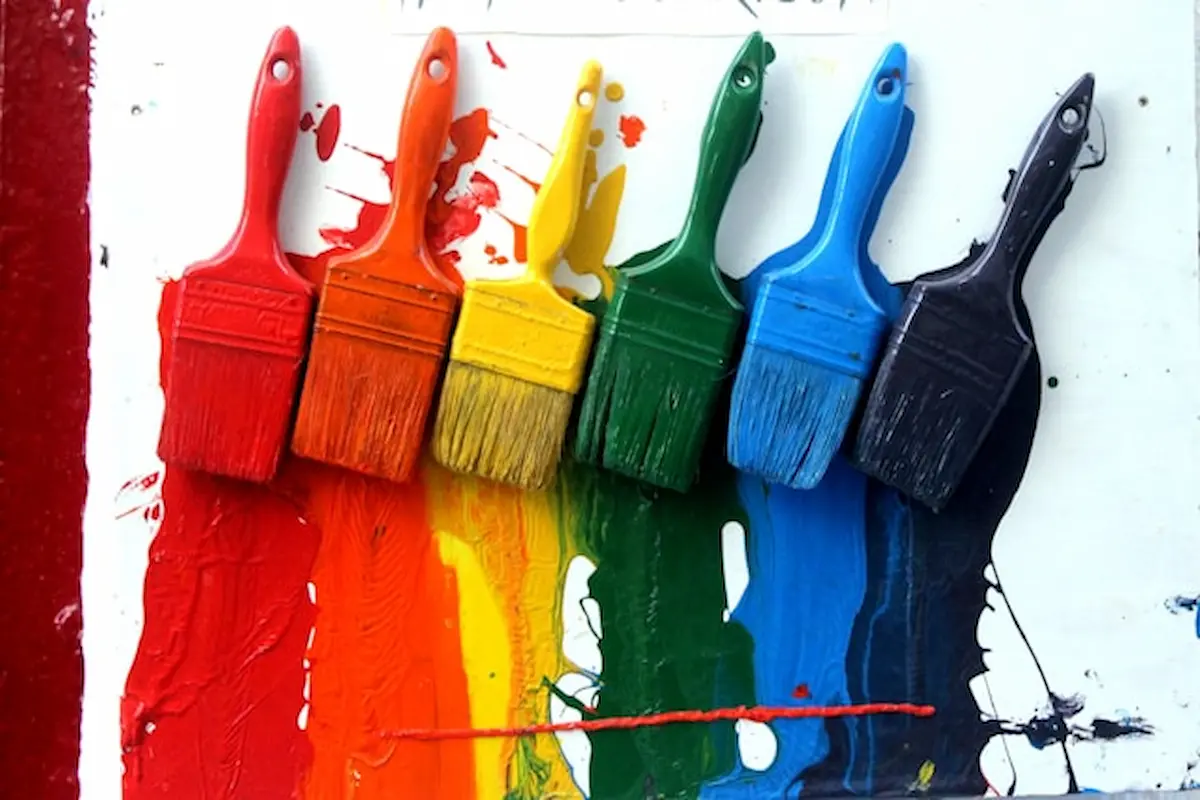
Precision Brush Selection

Not every paint brush can be used in the same manner. Angled brushes are better for precision and control when painting along edges, corners and trim than standard flat brushes are because of their angled shape.
Angled brushes will allow you to paint a clean line along the edge of a ceiling and baseboards or moldings without leaving behind an uneven or ragged line. Flat brushes, on the other hand, are generally used to paint a large area in one layer of paint with a smooth, even stroke.
Quality paint brushes are typically more expensive than low-quality paint brushes at the time of purchase but they also provide smoother results and lose fewer bristles while applying paint.
The Science of Roller Naps

The thickness or “nap” of the roller cover plays an important role in how paint will be spread across a wall.
When painting on smooth walls, the roller nap to be used should be a thin nap because it will provide a more fine and even coat of paint to the surface. When painting on textured walls (stippled, heavily patterned drywall, stucco, etc.), you will need to use a thicker nap because they hold more paint and create a thicker coat than thinner naps do.
Using the proper nap will allow for consistent coverage on the wall and will help to ensure that the final product of the paint job will have an even texture finish.
Efficiency Gear

A professional painter has several important tools that assist in achieving consistency and speed in their work.
Using a paint tray with a disposable liner can help with clean up and changing colors quickly, if needed. Using an extension pole attached to your roller will help give you even pressure on the roller while painting any tall walls or ceiling.
These tools will also lessen your physical strain on the job; therefore, you can work comfortably and with efficiency throughout the course of your project.
Phase Three: Strategic Material Selection
The type of paint you use is just as critical to how it gets applied properly. Each paint finish and primer will have a particular application in regards to the room they are being used in, as well as the conditions of the wall(s).
Mastering Sheens

Sheen Levels of Paint (also known as “Paint Gloss”) — Sheen levels of paint correlate to how “shiny” or “glossy” the final coating will look — There are different benefits to using different sheens in various areas of your home.
A “matte” finish is the least shiny, meaning that it is the least reflective, and has a soft appearance. It also does a good job of hiding imperfections. Matte finishes are best used in bedrooms or on ceilings.
A “satin” finish is somewhat more durable, and easier to clean than a matte finish. Because of this, they are commonly used in kitchens, bathrooms, and high-traffic areas.
A semi-gloss finish is most commonly used for trim, doors, and cabinets, as they are moisture-resistant, and have a higher washability rating.
When deciding which sheen you want to use as part of your home-remodeling paint job — Choose wisely — and consider choosing sheen-levels to suit the various areas that you are painting.
The Primer Decision

Primer is a critical part of producing pro-like results when working on a painting project; – Top half of the section.
If you are painting over an existing paint finish that is very dark; you are covering stains; or you have just installed new drywall, adding a primer to the surface prior to painting will help with the paint’s adhesion to the surface, and with the color being correct.
Using a primer, especially when working with porous-type surfaces, can prevent paint from being absorbed irregularly during paint application.
Phase Four: The Flawless Application Process
With the preparation complete and materials ready, it’s time to begin painting.
The “Cutting In” Technique
Professional painters usually start by cutting in the edges of the ceiling, walls, and baseboards, creating a 2–3-inch wide border along all of these areas.
Using this technique allows you to paint a border around the edges of your wall, so when the ceiling, walls, and baseboards are painted, they will blend together seamlessly.
Taking the time to properly cut-in will allow for clean lines and not have to constantly touch up throughout the rest of the project.
The “W” or “N” Rolling Pattern

After completing the cut-in process, you’ll use a roller to paint the majority of the wall surface. Most professionals will utilize a “W” or “N” rolling pattern when applying paint using a roller.
The W or N rolling pattern allows an even amount of paint to be distributed across the wall, as well as create an even amount of paint without having streaks or heavy coats of paint in certain areas.
Once you have finished rolling the paint in a W or N pattern, lightly roll over the area one more time in a vertical direction to smooth the paint out.
Be sure to work in sections that are manageable and maintain wet edges so you do not create any lines on the wall between painted sections.
Layer Management
Patience is very important to this process; make sure that each coat has completely dried before applying the second coat.
A professional paint job typically will require two coats of paint to achieve the desired depth of color and Durability. The second coat will create a more uniform appearance and a richer, longer-lasting finish.
Phase Five: Precision Cleanup and Maintenance
To get nice, clean, sharp, cut lines on your trim and ceiling edges, simply pull the tape off very slowly at an angle.
Expert Tape Removal
In order to preserve the quality of your paint brushes and rollers, you will want to clean them immediately after you have completed painting the project. Use water for cleaning latex-based paint, and for oil-based paint use the appropriate solvent to clean the brush or roller.
Tool Preservation
Cleaning your brushes and rollers promptly after completing the project will prevent the paint from hardening onto the bristles of the tool and help to keep the tool working properly for future use.
Long-Term Storage
To keep leftover paint usable over time, store painted cans by sealing them in a properly closed original can (i.e., either by retaping the lid/securing it with tape) or transferring to an air-tight storage container. Label what type of paint and where the paint could go to assist you with later touch-ups!
Keeping paint properly stored will allow you to do small repairs and create perfectly matching colors.